GitHub is a repository available online where any developer can register by providing his email id. Once you have registered you can create a new repository there by following below mentioned steps:
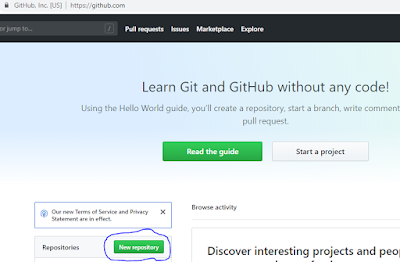
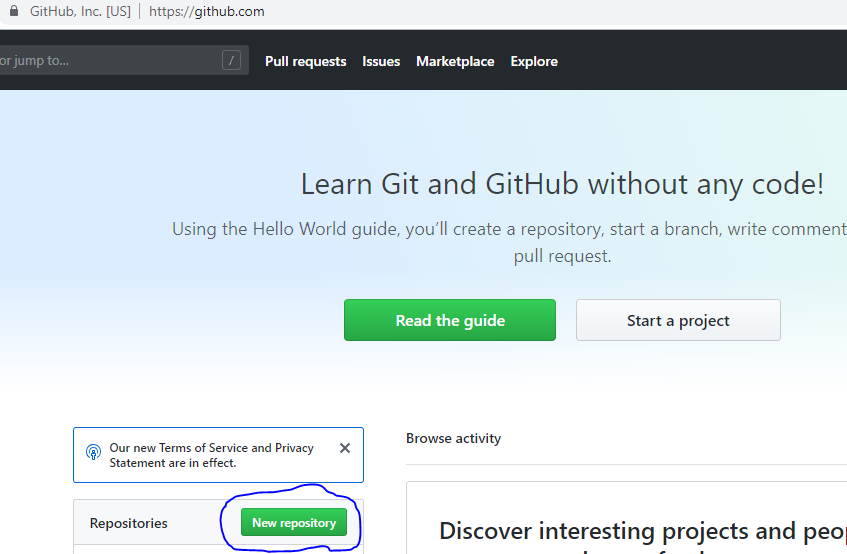
- Login into your github account and click on New Repository button
- Fill all the required details in the form that opens after clicking on the New Repository Button. Don't forget to select the checkbox for "Initialize this repository with a ReadMe". It will be helpful in immediate cloning.

- Now, once you click on Create repository button, your new repository will be ready.

- Now, you can take this repository to your local environment by number of ways like by Opening on Desktop, Downloading the zip file for this repository or by creating a fork or clone of this repository. The best and secure way is to use fork or clone. So, click on Clone or download drop down and copy the URL.

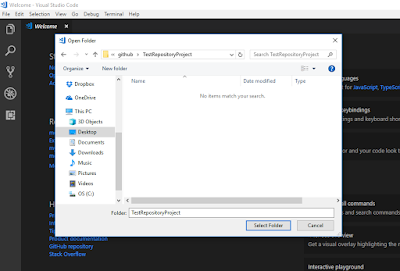
- Now, Open your Visual studio code editor and click on Top Menu -> Files -> Open folder and then select the folder in which you want to download your cloned project.
- Now go to the Menu -> View -> Terminal and execute the command like git clone https://github.com/jksnu/TestRepository.git in the terminal window in visual studio code

- Now, your fork or cloned project is downloaded in your local. You can see your ReadMe.md


Thus, here, we understood the following things like:
- How to register in GitHub
- How to create your repository in GitHub
- How to Clone your repository in GitHub
- How to Checkout your cloned repository from GitHub to your local through Visual Studio code editor
In my next blog, I will discuss about the different steps involved in committing your code to your GitHub repository.
Feel free to add your suggestion or comments.

No comments:
Post a Comment
Please provide your precious comments and suggestion